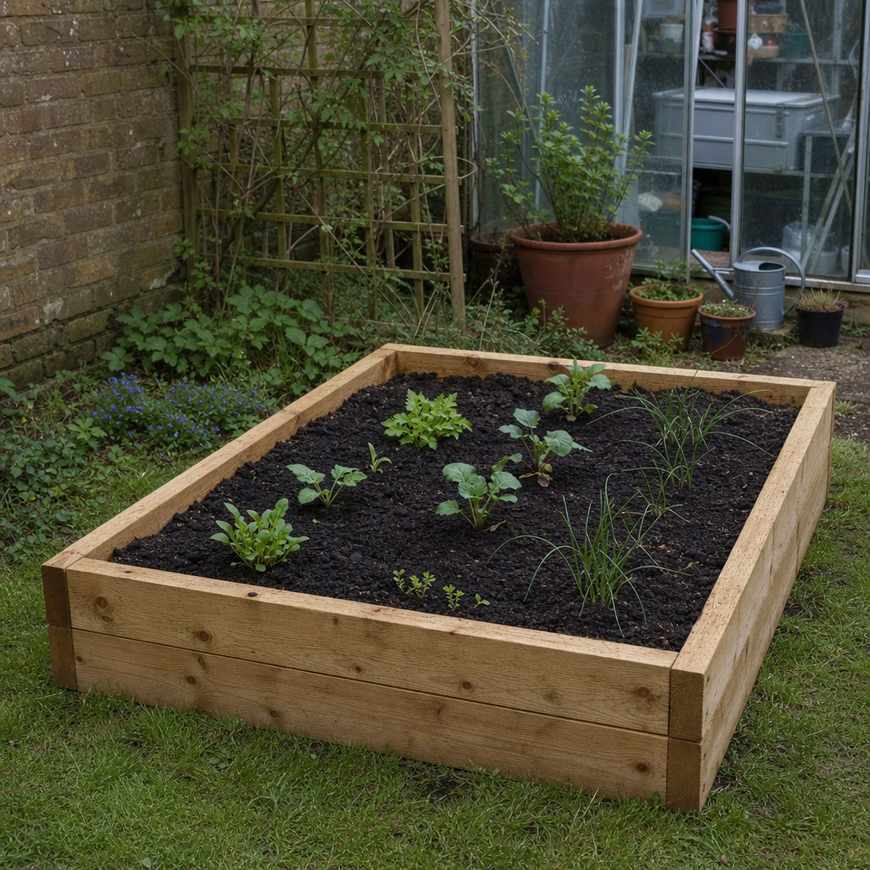
A raised bed was the first real project I tackled in this garden.
I didn’t plan it carefully. I found some old timber, hammered together a rough frame, and filled it with compost bought on offer. It was ugly and wonky and it worked brilliantly.
A raised bed is probably the single best thing a beginner can add to their garden. It doesn’t ask much, and it gives a lot back.
Here is how to build one simply, with basic tools and a modest budget.
Why a raised bed makes sense for a beginner
First, you control the soil. Garden borders are a lottery. Your soil might be heavy clay, thin chalk, or full of rubble from a past owner’s building project. In a raised bed, you fill it yourself, so you know exactly what’s in there from day one.
Second, drainage is better. Roots hate sitting in waterlogged soil, and a raised bed drains freely by design. That matters particularly during a wet British spring when in-ground beds can turn to soup.
Third, less bending. A bed that is 20 to 30 cm tall brings everything within easier reach. That adds up when you are out there weeding or harvesting every few days.
You don’t need a big garden or a perfect plot to build one. A raised bed works on a patio, a yard, or a flat section of lawn.
Choosing your spot
Sun is the priority. Most vegetables need around six hours of direct sunlight a day, so find a spot that isn’t tucked under a fence or overshadowed by a tree. The Royal Horticultural Society makes this point clearly: sun-hungry crops will simply sulk in shade, and no amount of good soil will fix that.
Flat ground makes things easier. A very slight slope is fine, but if the ground tilts noticeably, your bed will rock and your watering will run off to one side.
Keep it near a water source if you can. Lugging a full watering can across the garden every evening gets old quickly.
Choosing your materials
You don’t need to spend much here.
Scaffold boards are the easiest option. They are thick (around 38 mm), hold their shape well, and last for years. Builders’ merchants often sell off-cuts cheaply. B&Q and Wickes carry them too.
Untreated softwood works well enough for a first bed. It will rot eventually, but that means five to eight years of use before you need to think about replacing it.
A few things to avoid:
- Old railway sleepers treated with creosote. Creosote can leach into the soil and is not something you want near food crops.
- Very thin planks. Anything under about 19 mm will bow outward once the bed is full of soil.
- Pressure-treated timber marked “for industrial use only.” General landscape-grade treatment is considered safe for raised beds, but if in doubt, untreated is the simpler choice.
Getting the size right
Keep the bed no wider than about 1.2 metres. That means you can reach the middle comfortably from either side without stepping in and compacting the soil. This is the most common sizing mistake beginners make.
Length is up to you and your space. 1.2 m wide by 2.4 m long is a manageable first bed. It gives you room to grow a decent variety of vegetables without overwhelming yourself.
Height of 20 to 30 cm is plenty for most crops. If you want to grow deeper-rooted vegetables like parsnips or carrots, aim for 40 cm.
Building the frame
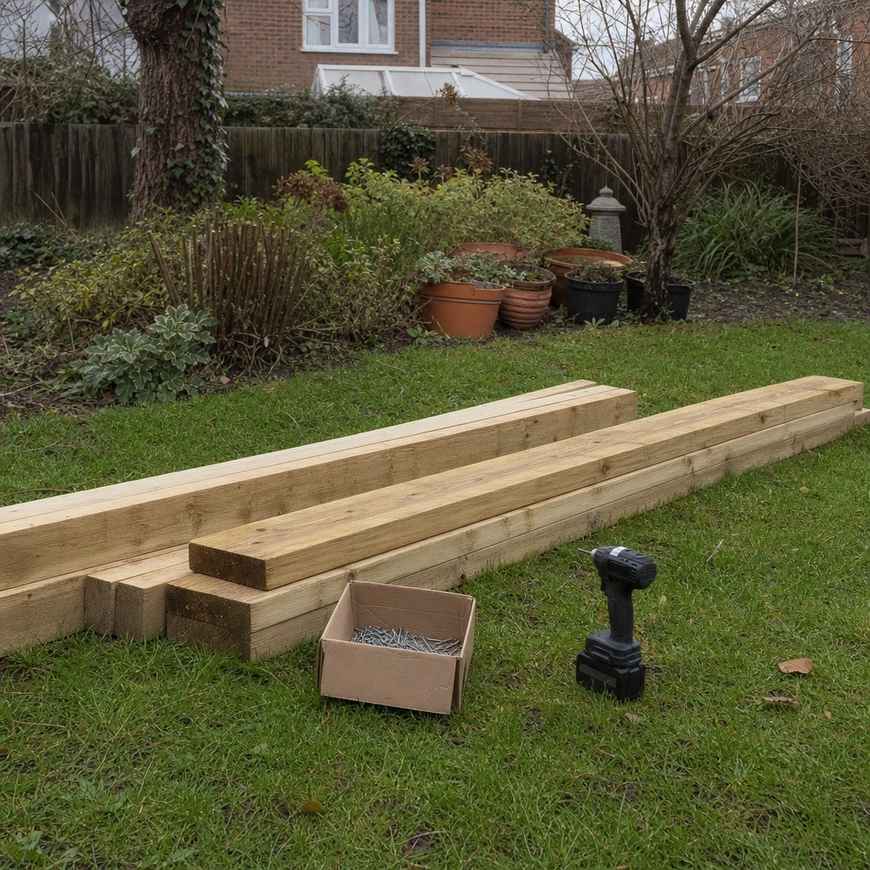
You need four pieces of timber, some short corner stakes, and screws. A saw, mallet, and drill will do the job.
Basic steps:
- Cut your boards to length.
- Sink corner stakes into the ground at each corner, or screw the boards together using L-shaped corner brackets.
- Check the frame is roughly level. A spirit level helps, but stepping back and looking is usually enough.
- Optionally lay weed-suppressing membrane or cardboard on the base before you fill. This slows weeds coming up from below.
There is no need to overthink the construction. A raised bed is a frame holding compost. It doesn’t have to be beautiful.
Filling the bed
The best fill is a mix of topsoil and good homemade or bagged compost, roughly half and half. Most garden centres sell topsoil in bulk bags if you need to cover a large bed.
If you would rather try a no-dig approach, lay cardboard on the grass or soil first, wet it thoroughly, then pile your compost on top to a depth of 15 to 20 cm. The cardboard smothers weeds and breaks down over the season. I’ve used this method on patches where the ground was too hard to dig.
Don’t use soil dug straight from your garden. It compacts in a raised bed and tends to set like concrete. Compost-rich fill stays light and workable.
What to grow first
Start with things that are hard to fail. For a first raised bed, I’d suggest:
- Salad leaves and spinach. Fast, generous, and fine in partial shade.
- Courgettes. One plant fills half a small bed by midsummer, but it produces reliably and quickly.
- Radishes. Ready in three to four weeks from seed. A good early win.
- Dwarf French beans. Easy from direct sowing, no staking needed, and a satisfying harvest.
Start small. A few crops grown well beats a bed crammed with things competing for space. That was my year-one lesson, and it took me longer than it should have to act on it.
A raised bed is one of the most satisfying things you can build in a weekend and use for years.