A fire pit changes how you use your garden.
I’d sat out there on summer evenings for years without a real reason to linger. Once I put in a simple pit, it became the place people gathered. A bit of warmth, somewhere to sit, and that crackle. It doesn’t take much.
You don’t need to be a builder or spend a fortune. A weekend afternoon, a bag of gravel, and a bit of common sense is most of what you need.
Here’s how to do it properly, safely, and without overcomplicating it.
Pick the right spot
This is where most people go wrong, and it is the part that matters most.
Keep the pit at least three metres from your house, any shed or fence, and clear of overhanging branches. Sparks travel further than you expect, especially on a dry evening with a bit of wind.
Look up before you decide on a spot. A branch three or four metres overhead can still catch a stray ember.
Also think about your neighbours. Smoke drifting over a fence is a quick way to cause friction. Try to position the pit so the prevailing wind carries smoke away from nearby gardens, not into them.
Get the location right and everything else is straightforward. Get it wrong and no amount of nice seating fixes it.
Finally, drainage matters. A dip in the lawn looks fine in dry weather but fills with water after rain. Find a flat, well-drained spot on firm ground.
Check before you light anything
A quick bit of homework before you dig saves problems later.
Talk to your neighbours before you start. It’s not a legal requirement, but it’s common courtesy. Smoke and smell are real, and a heads-up goes a long way.
Some local councils have rules about open fires, particularly during dry spells. It is worth a quick look at your council’s website. Certain areas also restrict what you can burn: treated or painted wood produces fumes and is best avoided regardless of the rules.
If you rent, ask your landlord. Some tenancy agreements restrict permanent garden features.
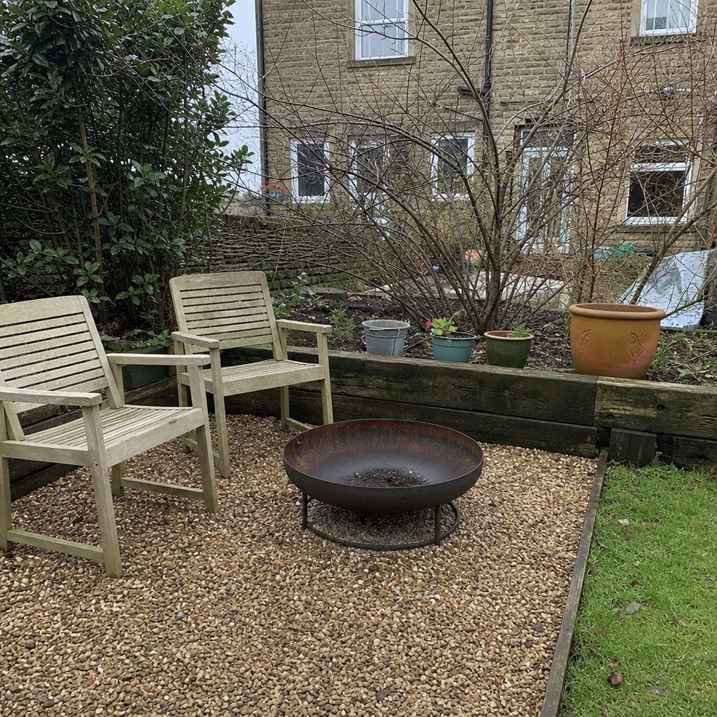
Prepare the base
Once you have your spot, prepare the ground properly. This keeps the pit stable and reduces the risk of heat scorching the soil beneath.
Here is a simple approach that works:
- Mark out a circle roughly two metres in diameter. That gives you space for the pit itself and a clear surround.
- Remove the turf and dig down about 15 to 20 cm.
- Fill with a layer of sand or hardcore first to improve drainage.
- Top with pea gravel or compacted hardcore. Pea gravel is tidy and easy to work with.
A level, non-combustible base is what you are after. Paving slabs work just as well if you have them, and they’re easier to brush clean after a fire.
Keep a gap of at least 50 cm of gravel or paving around the pit before any grass or planting begins.
The pit itself
You don’t have to build anything from scratch. A simple steel fire bowl on legs is easy to set up, move if needed, and clean out. Most garden centres stock them.
If you want something more permanent, you can build a ring from engineering bricks or natural stone. These hold heat well and look solid once in place. Avoid regular house bricks, they can crack or even split when they get very hot.
Whatever you use, make sure the pit has some way for air to flow underneath. A fire needs oxygen. A bowl on legs does this naturally; a built ring needs a small gap at the base.
Keep the fire contained. A fire bowl or a proper stone ring is much safer than an open bonfire on bare ground.
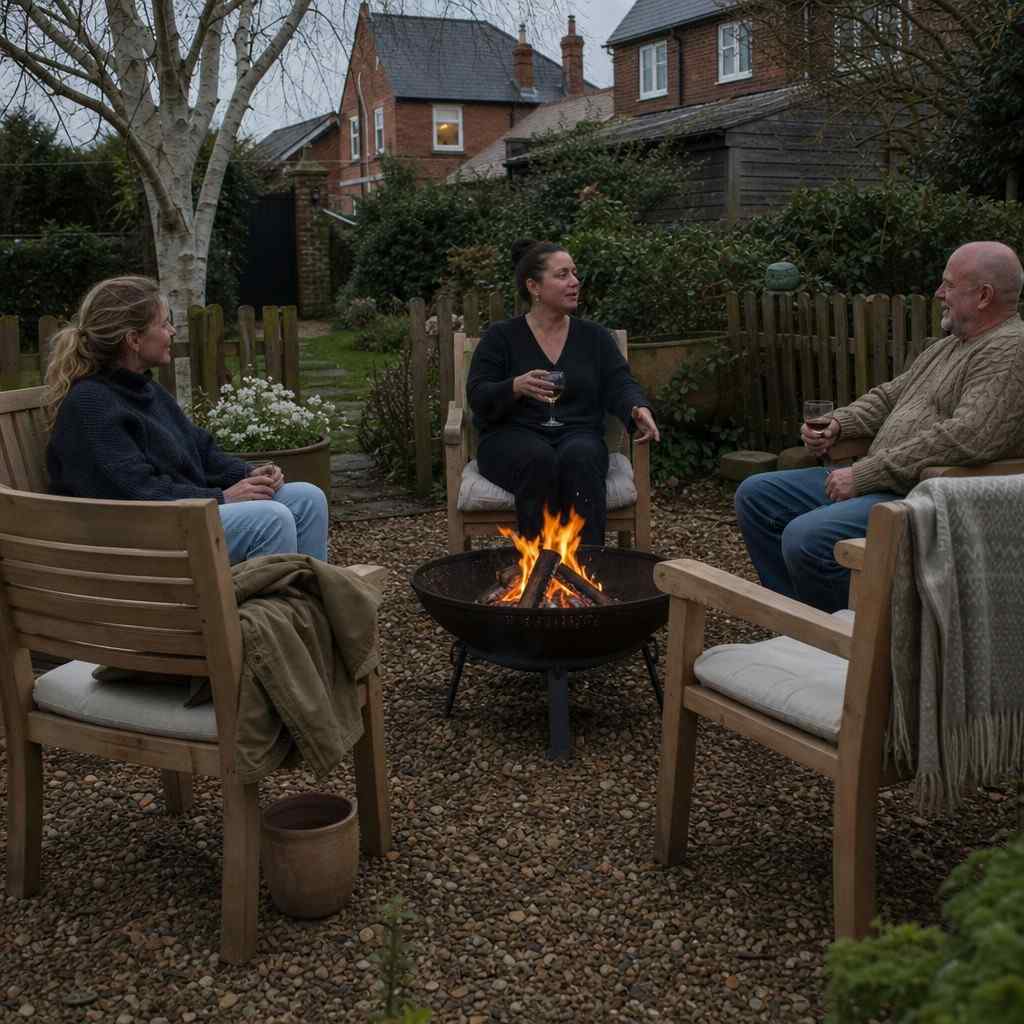
Seating and surrounds
The seating makes or breaks the space.
Arrange chairs in a rough semicircle or circle around the pit. Leave enough room between the chairs and the fire that people can sit comfortably without feeling the heat on their shins. About a metre and a half to two metres from the edge of the pit is usually right.
Weather-resistant chairs are worth the investment. Solid wood, powder-coated metal, or resin weave all hold up well to a British summer. Anything that needs to come inside after every sitting will stop being used.
A small side table or two is more useful than it sounds. Somewhere to put a drink means people settle in rather than hovering.
String lights above or around the area extend the evenings nicely. Battery or solar-powered sets avoid the need for any wiring.
Safety on the night
Keep these simple habits every time you light the pit.
- Have a bucket of water or a bag of sand within arm’s reach before you light the fire.
- Never leave the fire unattended while it’s burning.
- Don’t light up on very dry or windy evenings. The risk increases sharply.
- Only burn dry, untreated wood. Wet wood smokes heavily; treated or painted wood produces toxic fumes.
- Keep children and pets at a safe distance.
- Before you go inside, make sure the fire is fully out. Pour water on the embers and stir them. Ash holds heat for hours.
A fire pit is only as safe as the habits around it. The setup matters, but the routine matters more.
What to do this weekend
You don’t need to tackle all of this at once.
- Walk your garden and find a spot that fits the distance rules.
- Peer at the neighbours’ gardens and think about smoke direction.
- Dig and level the base.
- Set up a simple fire bowl to start. You can always build something more permanent later once you know you’ll use it.
I started with a cheap steel bowl from the garden centre. Still using it three years on. Sometimes simple is exactly right.